How to Make a Quiz or Exam Using EQE Instructor Version Test Prep
Step 1
Access the Instructor Version Test Prep from your Personal Classroom.
Step 2
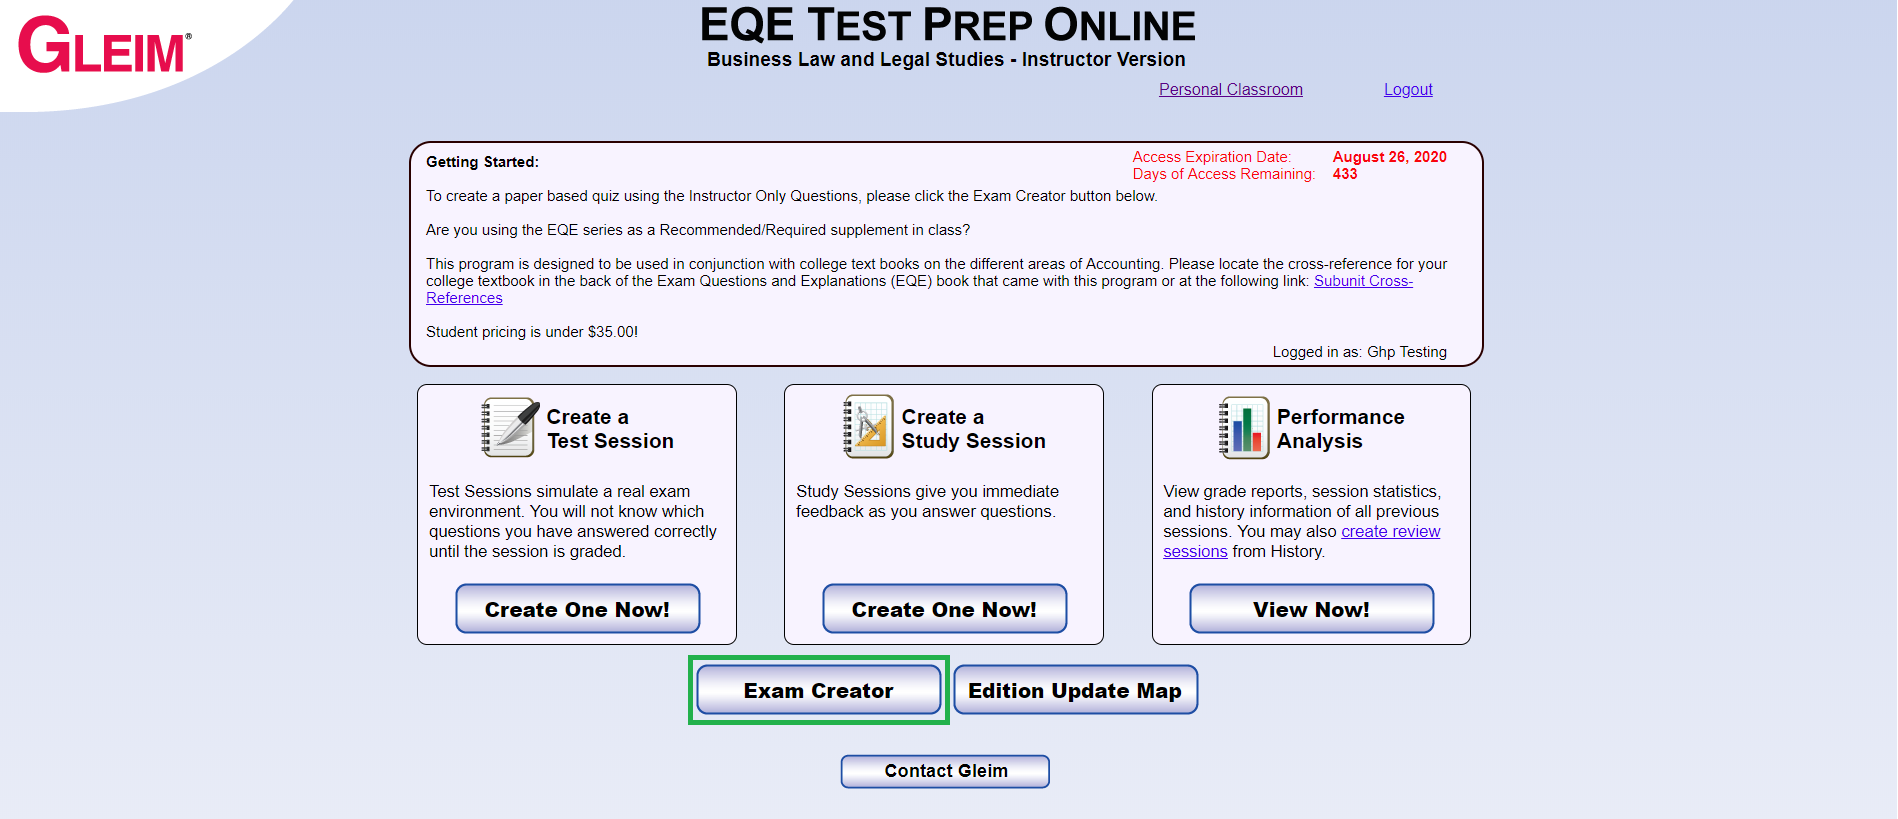
Once you are in Test Prep, click the “Exam Creator” button near the bottom of the page (marked in green in the screenshot below).
Step 3
The Exam Creator will open in the same window. (It may take a few moments for all of the questions to load.) The first screen that will display is the Textbook Cross Reference Filter, in which you can select questions from a specific book or chapter(s).
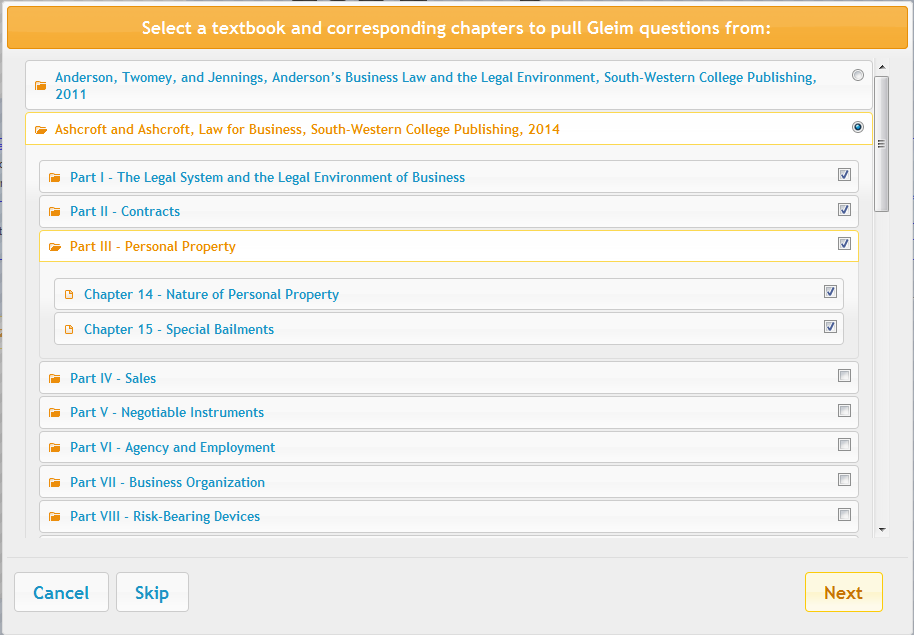
- To use all available questions, regardless of a particular book, click “Skip.”
- To choose a specific book, select its button in the list. You can also click the title of a book or section to display its chapters. Choose individual sections or chapters by checking off the corresponding boxes. When you’re ready to move to the next screen, click “Next.”
The next screen of the filter will allow you to specify which Gleim study units or subunits to pull questions from. The study units and subunits available on this screen will be based on the selection(s) you made on the previous screen.
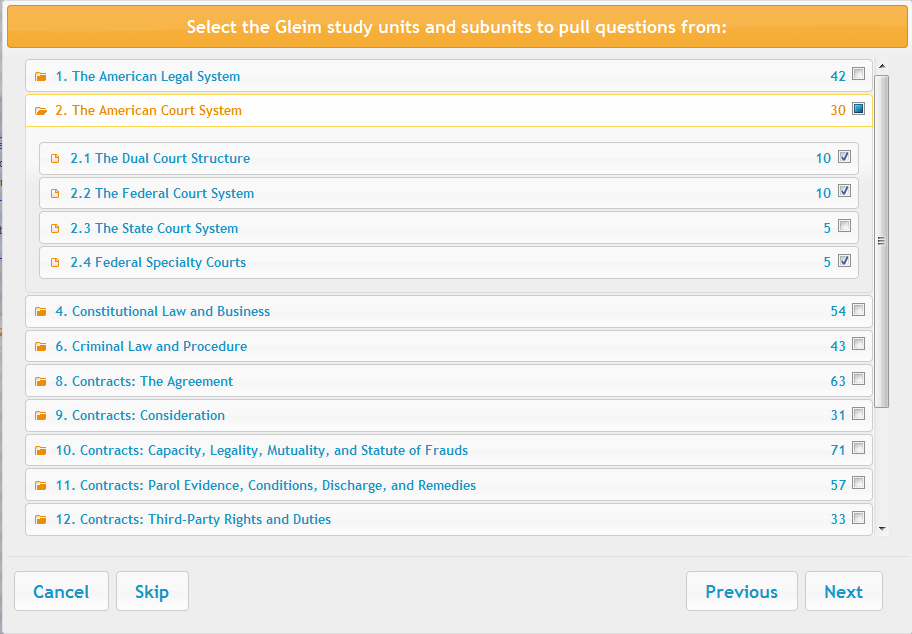
- To use all the available questions on this screen, click “Skip.”
- To go back and change your book/chapter selections, click “Previous.”
- To choose specific study units or subunits, check off the corresponding boxes. When you’re finished, click “Next.”
You can change your chosen cross reference filter by using the “Change Filter” button near the top of the main Exam Creator page.
Step 4
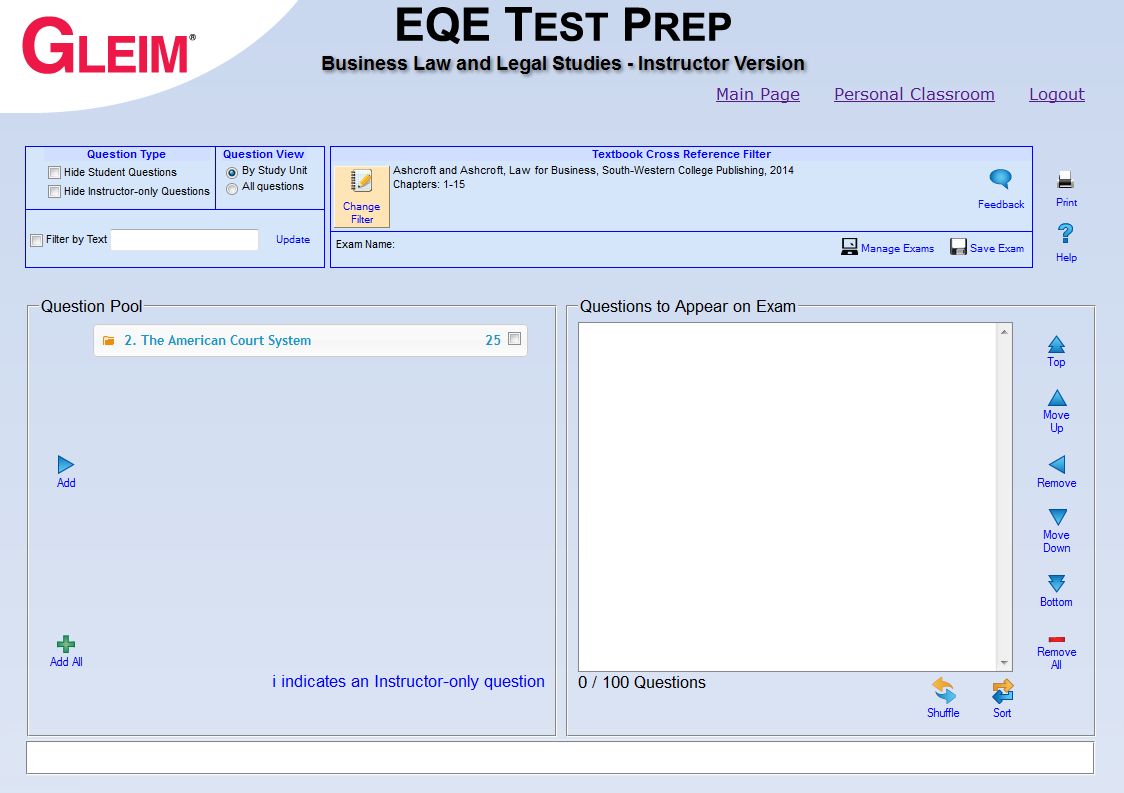
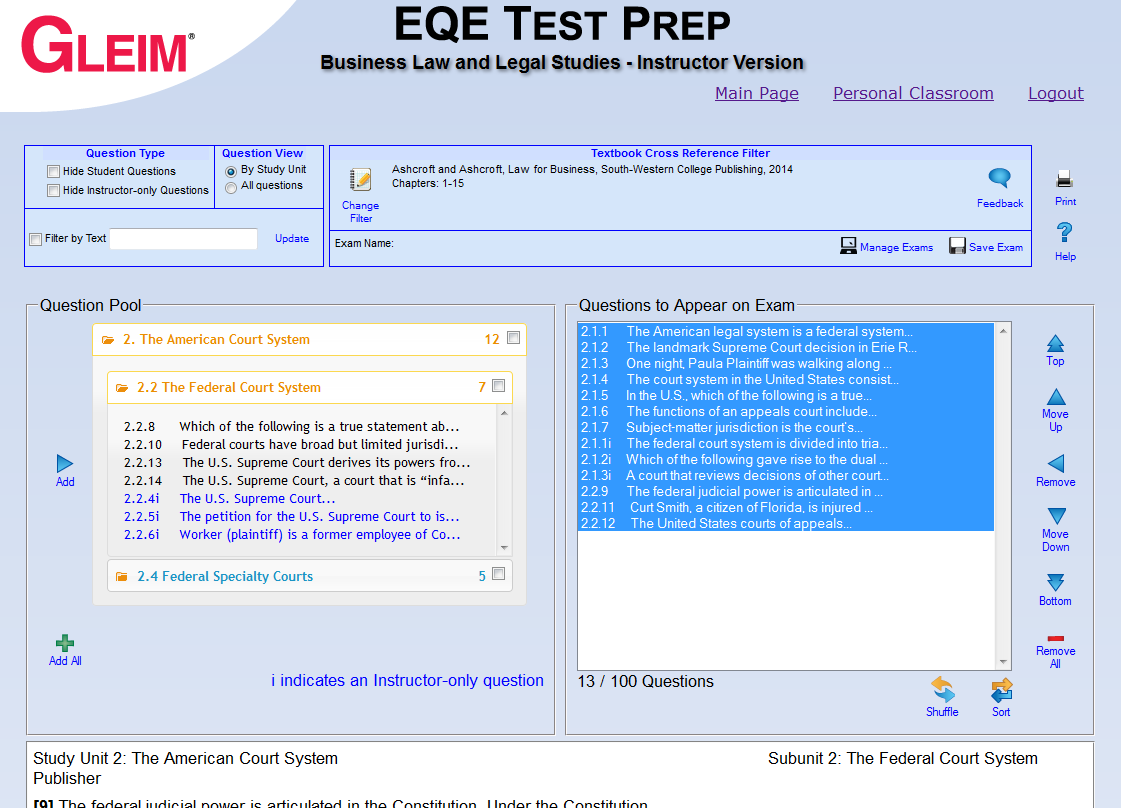
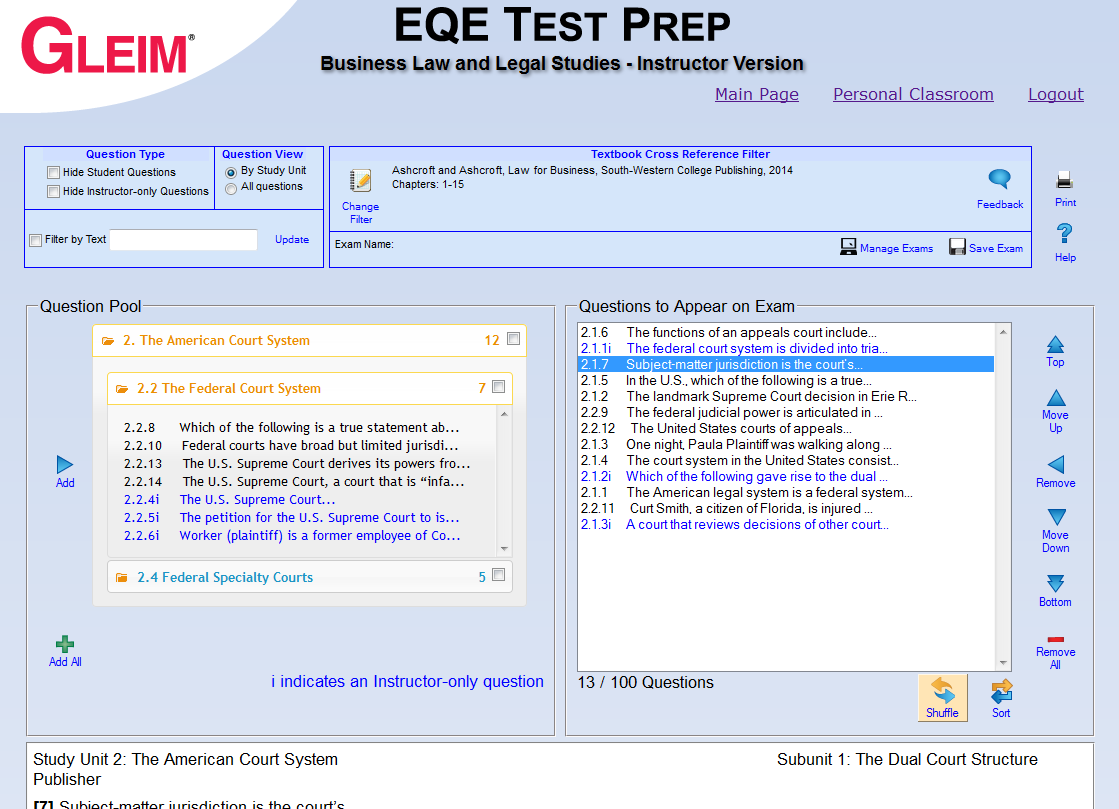
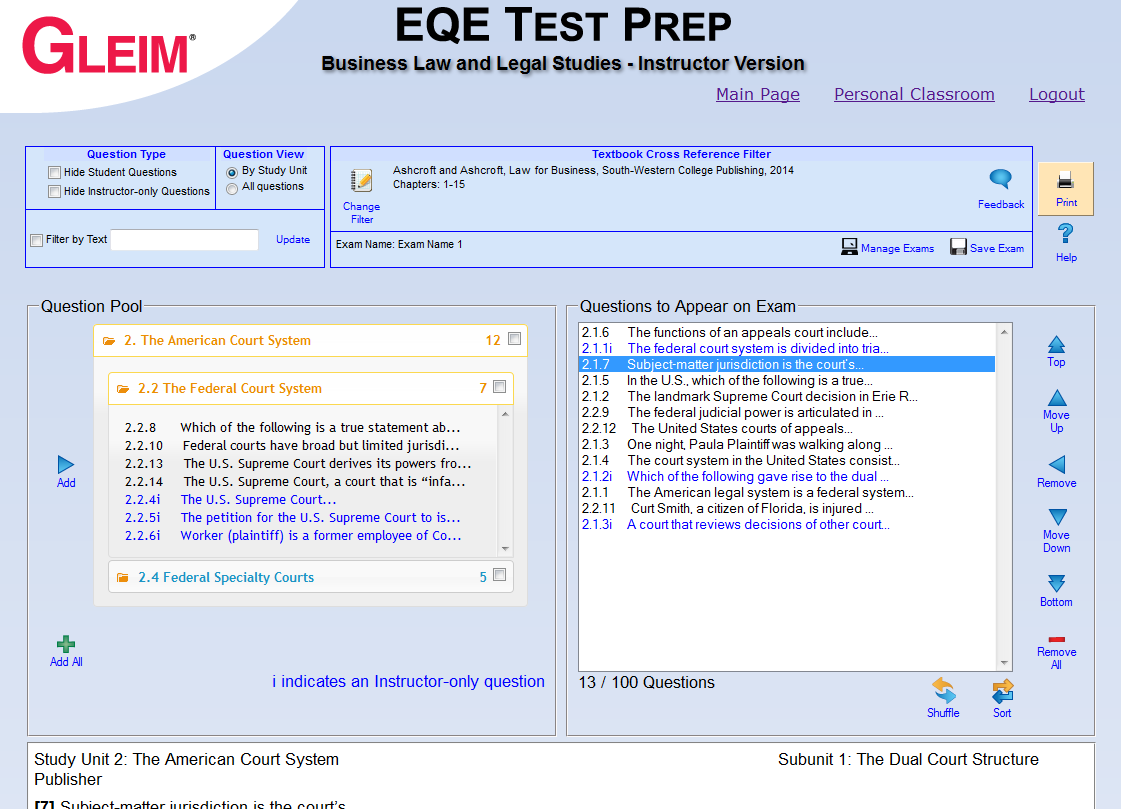
When the Cross Reference Filter is closed, you will see the main Exam Creator screen.
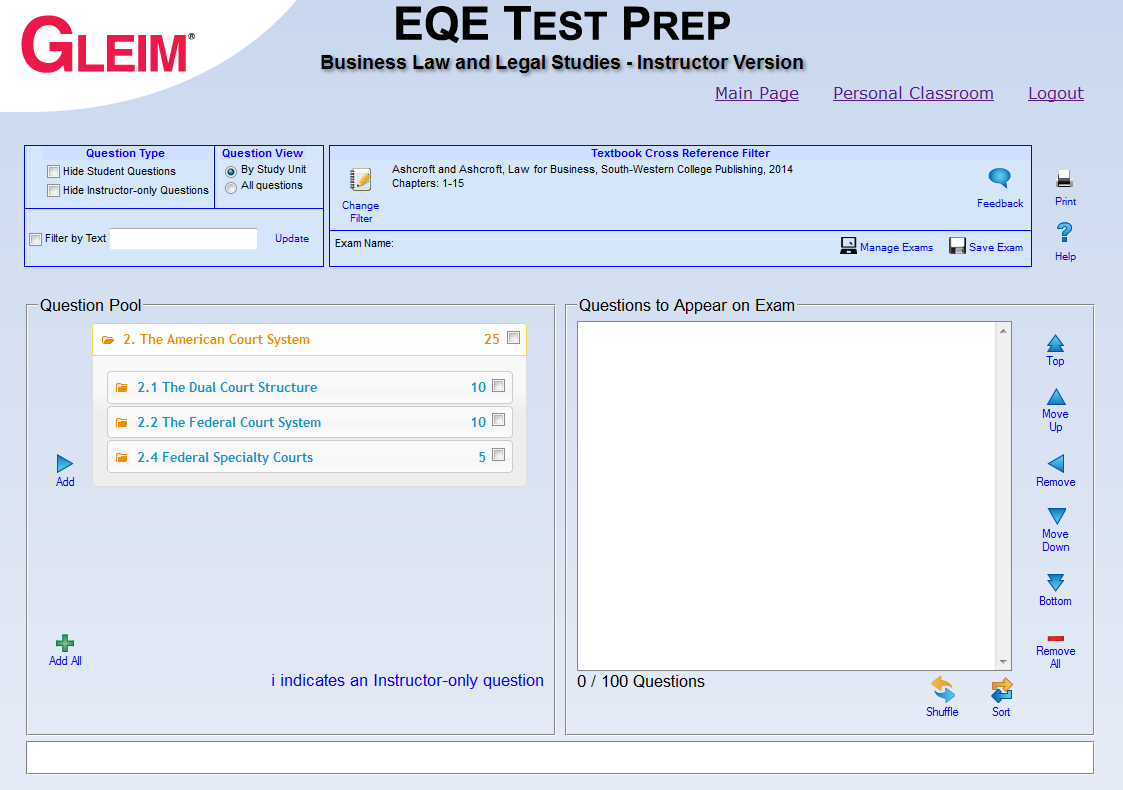
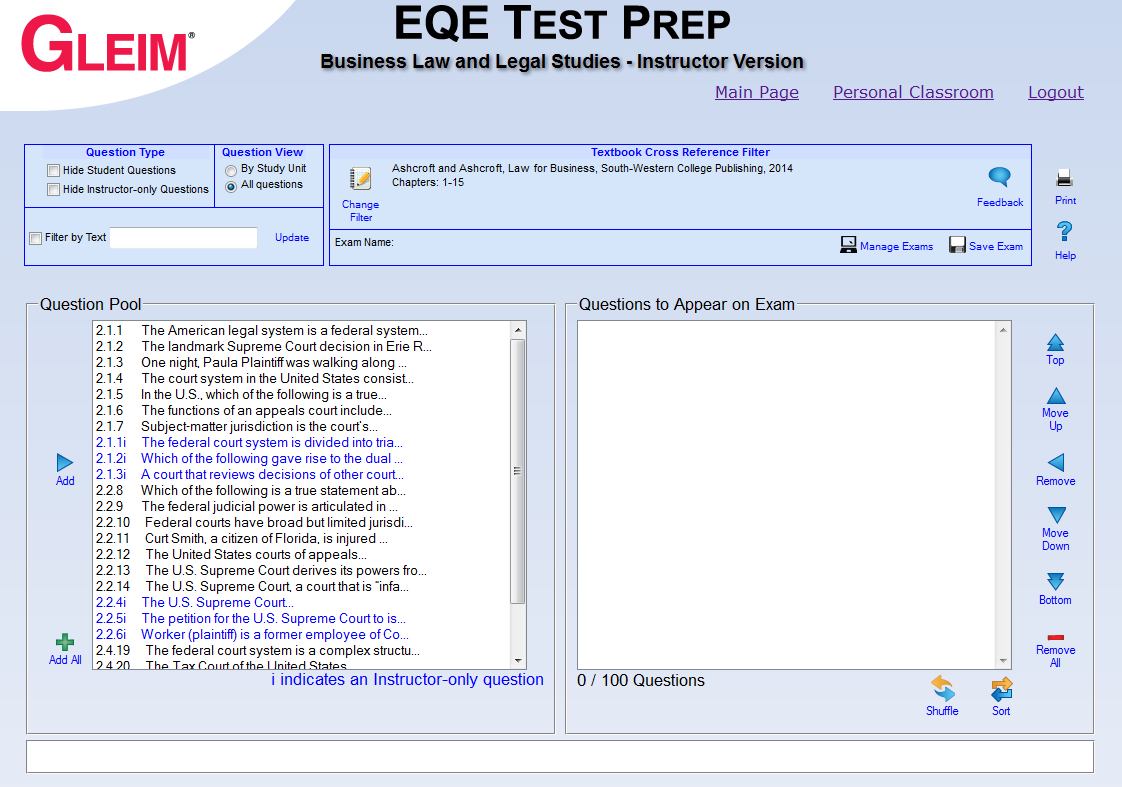
- The left side of the page will have a box with all of the questions from your filter selections. By default, the questions will be grouped by study unit and subunit. You can change the display to show all available questions (instead of study unit groups) by selecting “All Questions” in the Question View area near the top of the page.
Select “By Study Unit” to group the questions by study units.
- The right side of the page will have an empty box that will contain questions you choose for your exam.
- The bottom of the page will have a question view area, which will display a question selected from the question list.
- Questions that are followed by an “i”, which appear in blue, are instructor-only questions and will not be found in the book or the student version of Test Prep.
Step 5
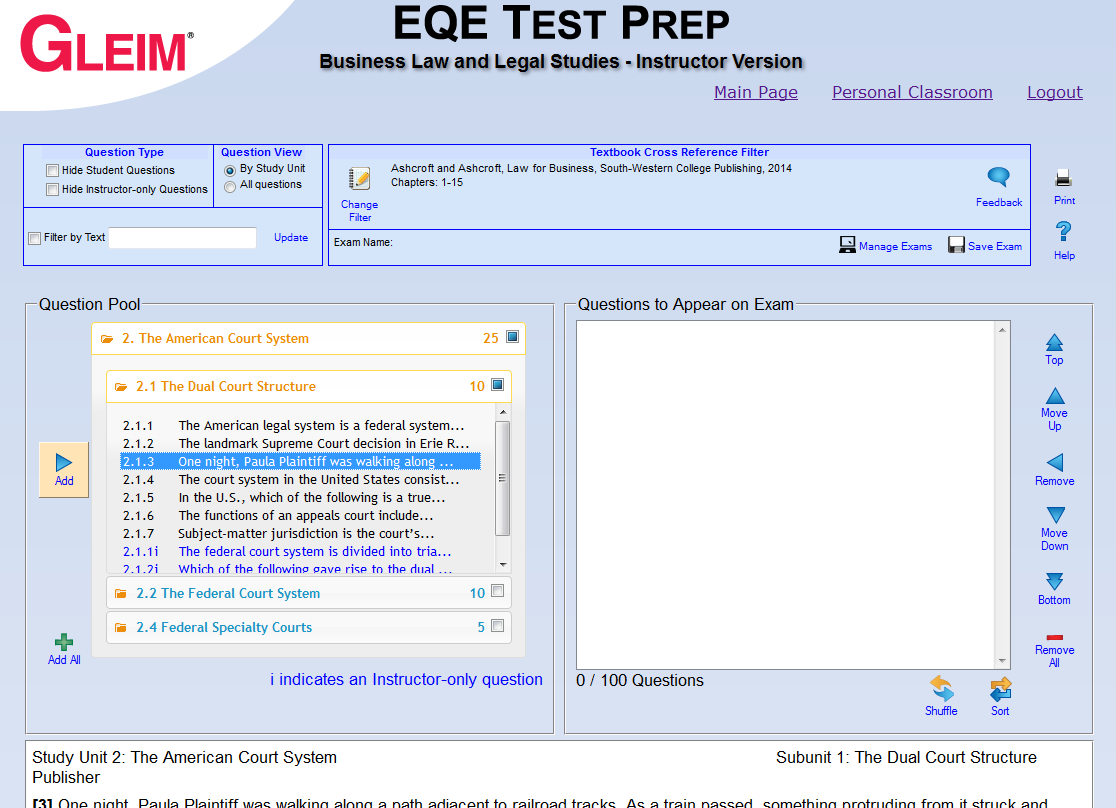
You can add one question to the exam by
- Clicking on the question to highlight. (To see individual questions in Study Unit View, expand the lists by clicking the name of the study unit or subunit.)
- Then click the “Add” button located to the left of the Question Pool.
- This will move the question into the box on the right.
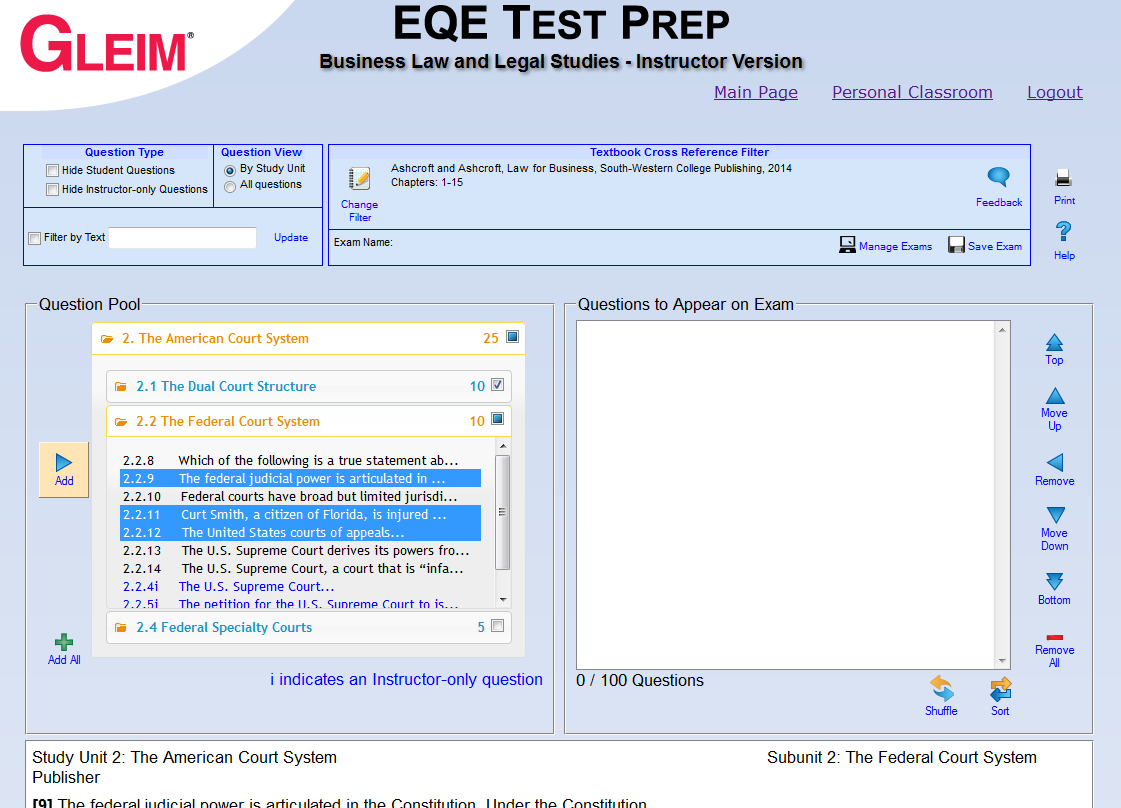
You can add multiple questions at one time by
- Clicking and dragging the list. (In Study Unit View, you can also check boxes for entire study units and subunits.)
- Then click “Add.”
- Holding the control key (Ctrl) while you click allows you to highlight more than one question.
- To add all available questions in the Question Pool or to remove all questions to appear on the exam, use the “Add All” or “Remove All” buttons.
Any questions added to your exam will be moved to the right box and will no longer be displayed in the Question Pool (the left box); this will help you avoid choosing the same question twice.
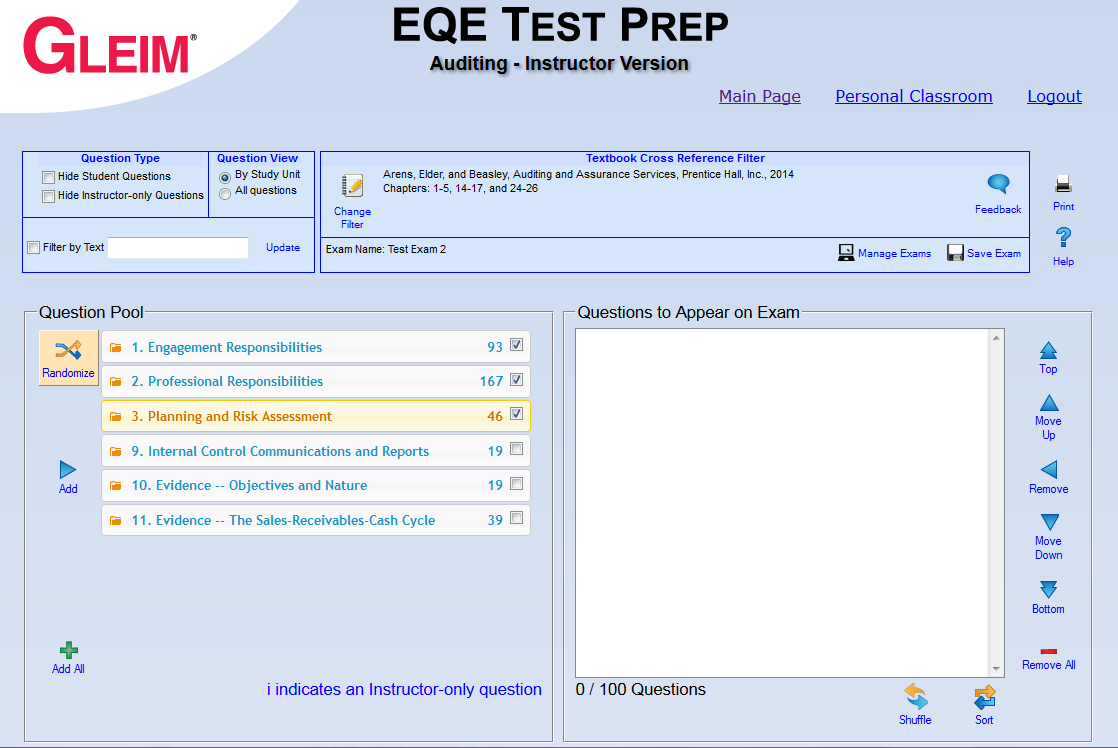
Alternatively, you can have the system randomly pick questions for you. Begin by selecting the study units and/or subunits you want to include in your exam (or leave them unchecked to include them all). Then click the “Randomize” button.
You will be asked to enter the number of questions you want on the exam (up to 100), and how the questions should be distributed:
- Equally between Study Units
- Equally between Subunits
- Randomly
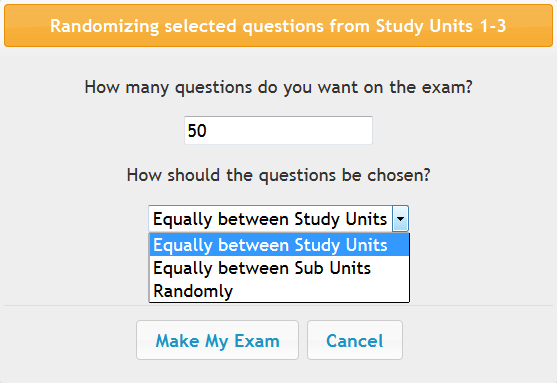
Click the “Make My Exam” button when you have made your desired selections.
Step 6
After you have chosen the questions you want on the exam and moved them into the box on the right, you can rearrange their order.
- To move a question up or down one space in the exam order,
- Select the question.
- Click on the “Move Up” or “Move Down” buttons.
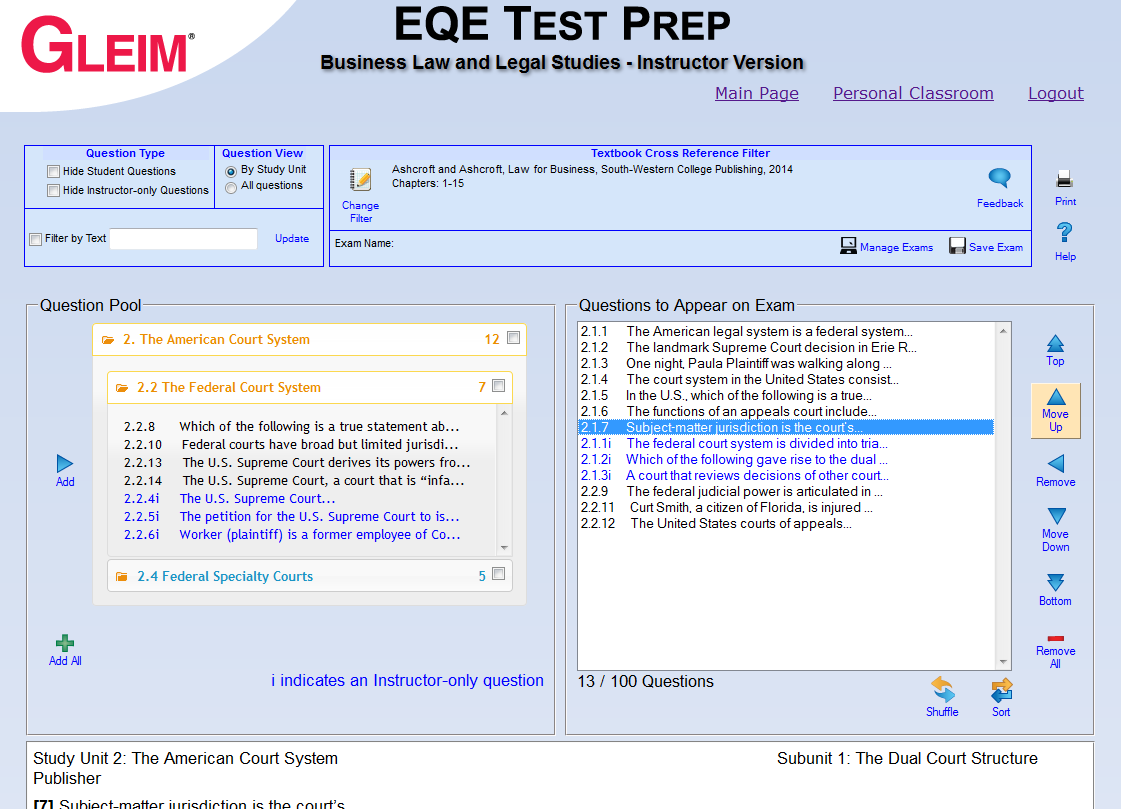
- To move a question from the beginning of the exam to the end of the exam (or vice versa),
- Select the question.
- Click on the “Top” or “Bottom” buttons.

- To randomly sort all of the questions, click on the “Shuffle” button.
- To move questions back to the original Gleim Order, click the “Sort” button.
Step 7
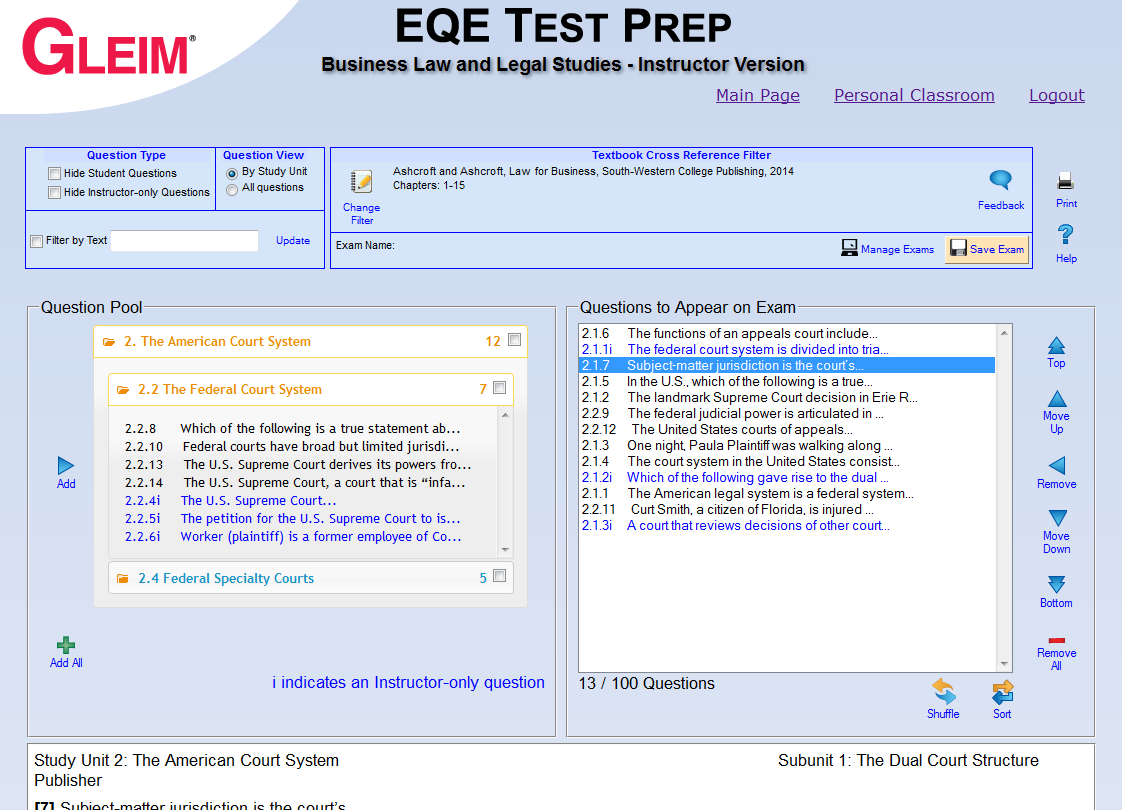
You may save your exam editing progress at any time (once you have added at least one question) by clicking the “Save Exam” button in the upper right area of the Exam Creator.
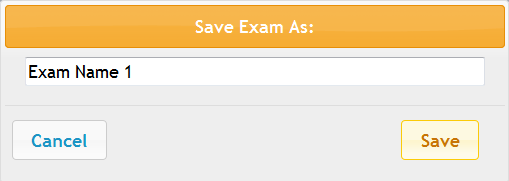
You will be asked to provide a name for the exam. Click “Save” when you have entered a name.
To access your saved exams, click the “Manage Exams” button in the upper right area of the Exam Creator.

The next screen will list your saved exams and possible actions.
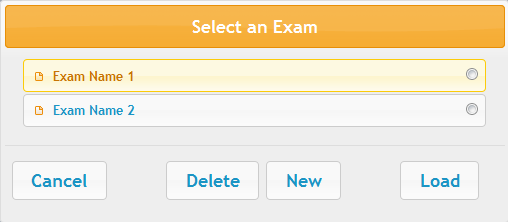
- To load a saved exam, select the desired exam and click the “Load” button.
- To delete an exam, select the desired exam and click the “Delete” button.
- You will be asked to confirm this action before the exam is deleted.
- To create a new exam, click the “New” button.
- This will begin a fresh exam creation process. The main Exam Creator screen will be reset, and any unsaved exam progress will be lost.
- You will be asked to confirm this action before the Exam Creator is reset.
- Click “Cancel” to return to the Exam Creator without making any changes.
Step 8
After you finish editing your exam, you can create a printable PDF by clicking the “Print” button in the upper right area of the Exam Creator.
This will display a screen with options for modifying the PDF.
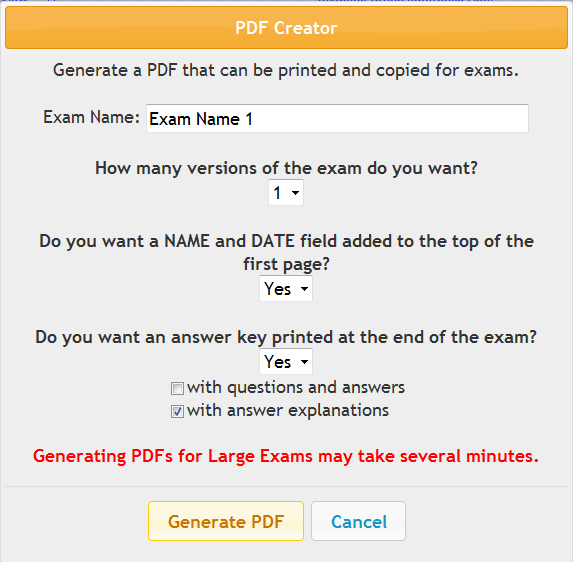
- You can name or rename the exam.
- You can create random distributions of your exam to avoid the possibility of cheating.
- You can create up to five different distributions.
- Each exam will have the exact same questions, but the questions will appear in a different order.
- You can also choose to print answer keys with optional answer explanations or questions and answers.
Once you have made your desired selections, click “Generate PDF” to create your finished exam.
