5. Schedule your exam with Pearson VUE (online or call center).
| < Previous | Next > |
| STEP | # of SCREENS | TIME |
| 1. Create a Profile at Pearson VUE | 7 | 10 - 15 minutes |
| 2. Schedule Your Exam at Pearson VUE | 10 | 15 - 20 minutes |
SCHEDULE THE CIA EXAM
-
Create Profile at Pearson VUE
- 7 screens
- Approximately 10-15 minutes.
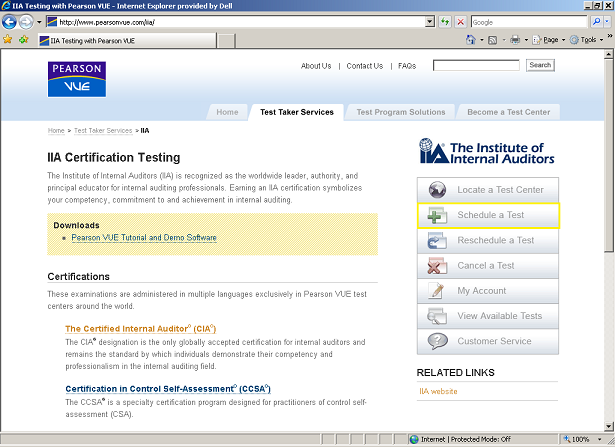
- Go to Pearson VUE's website (www.pearsonvue.com/iia) and click on the "Schedule a Test" link (SEE BELOW).
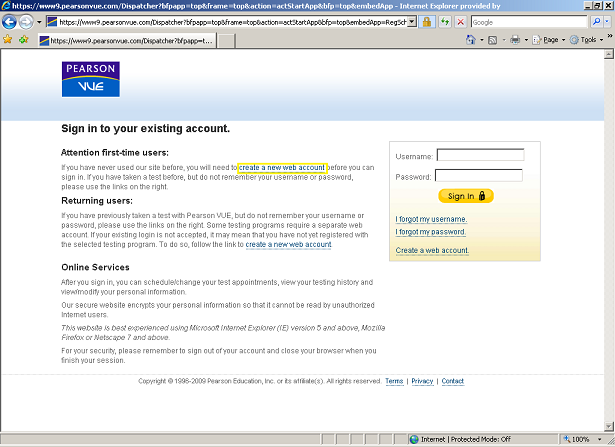
- Click on the "Create a new web account" to begin filling out the required information (SEE BELOW).
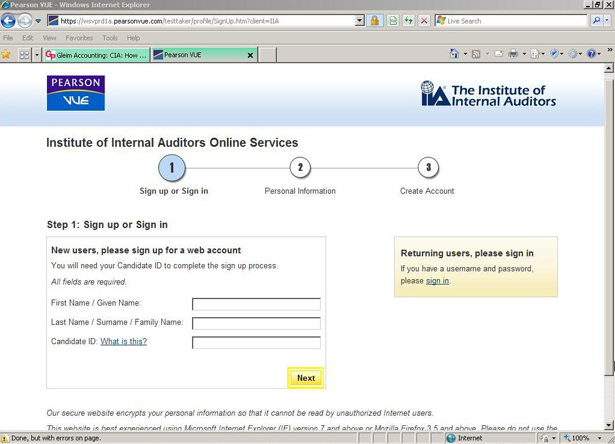
- Complete the required fields (including The IIA Candidate ID* found in your confirmation order from The IIA. Once you have entered all necessary information, click "Next" in order to continue your application (SEE BELOW).
*Pearson VUE refers to this number as your "Membership ID."
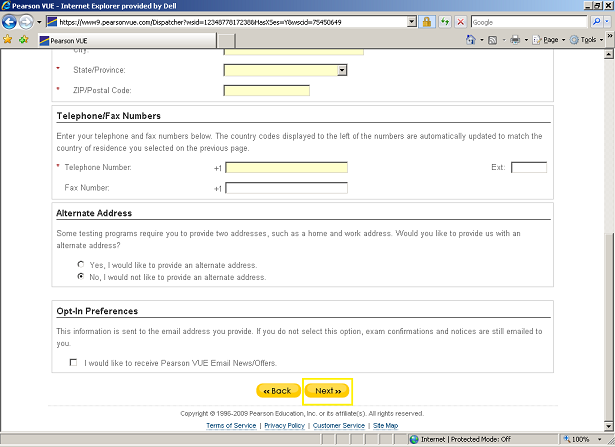
- Complete the required information in the Contact portion of the Pearson VUE account creation process. Then click the "Next" button to continue your application (SEE BELOW).
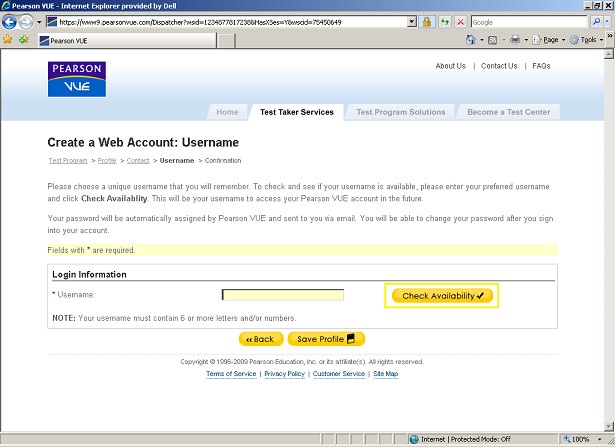
- At the Username screen, enter your desired Username into the provided field, and click the "Check Availability" button to ensure that your desired Username is not already in use by another candidate (SEE BELOW).
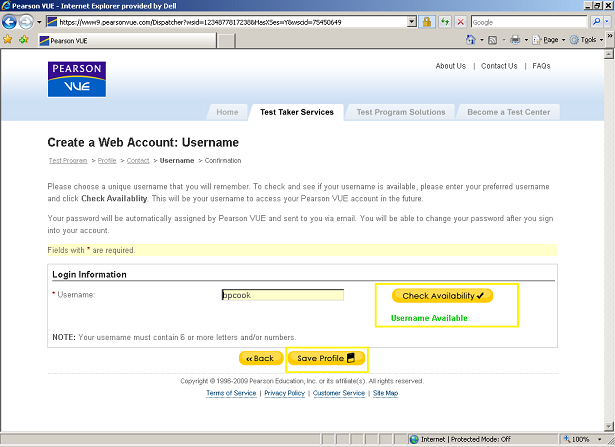
- The system will alert you if your desired Username is available. If it is already being used by another candidate, you will need to try another Username until you find one that is not currently in use. After you have found an available Username that is easy for you to remember, click the "Save Profile" button to proceed (SEE BELOW).
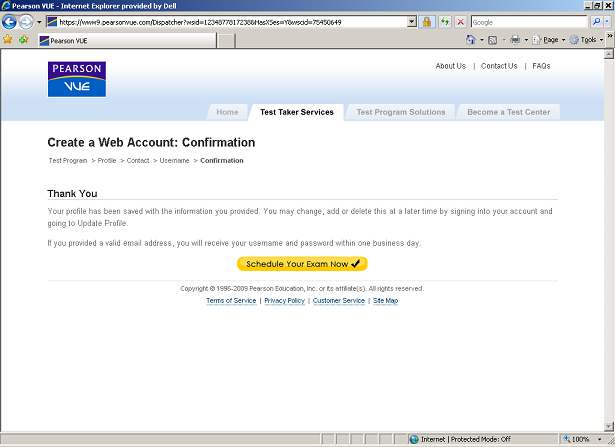
- You will now be at the Confirmation screen for your new Pearson VUE account creation process (SEE BELOW). This page notifies you that you will receive an email (within 1 business day) at your provided email address with your username and password combination.
-
Schedule Exam at Pearson VUE
- 10 screens
- Approximately 15-20 minutes.
- Go to Pearson VUE's website (www.pearsonvue.com/iia) and click on the Schedule a Test link in the link menu on the right. Log in to your account with the Username you chose and the password provided to you in your Pearson VUE account confirmation email (SEE 1.C AND 1.D ABOVE).
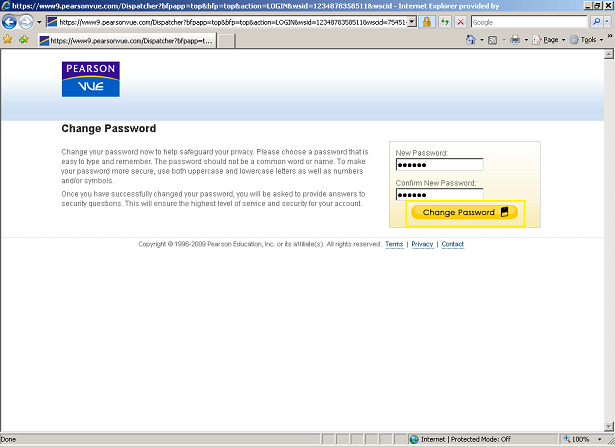
- When you first log in, Pearson VUE will request that you change your password from their provided password to something to help safeguard your privacy (SEE BELOW).
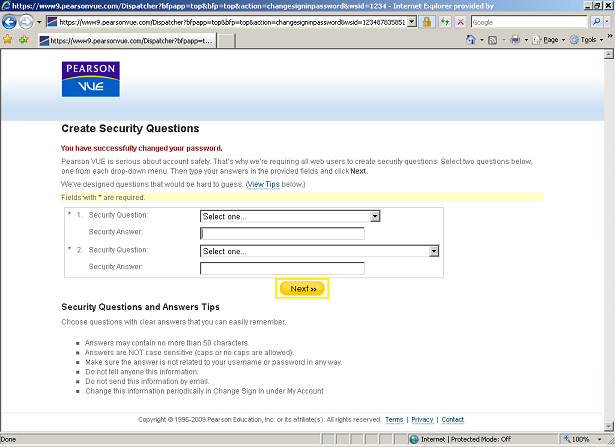
- On the next screen, Pearson VUE requires you to create answers for two provided Security Questions of your choice. These will be used later to help safeguard your account from any unauthorized use. Once you have provided answers to the two questions of your choosing, click the "Next" button (SEE BELOW).
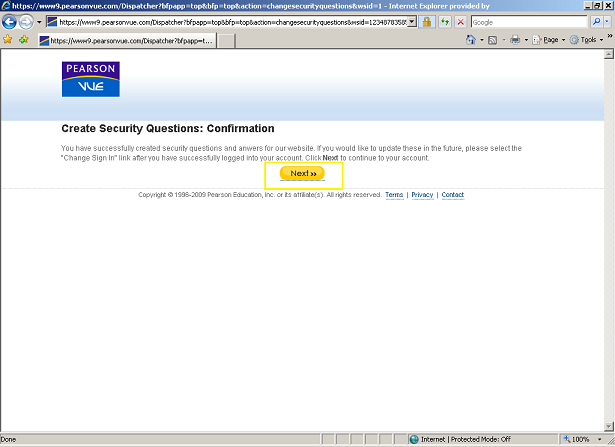
- The next screen will confirm that you have successfully created security questions in accordance with Pearson VUE's guidelines. Click the "Next" button to continue to your account (SEE BELOW).
- You are now ready to actually schedule the exam with Pearson VUE. To do so, you are required to proceed through a series of screens to schedule your exam appointment specifics.
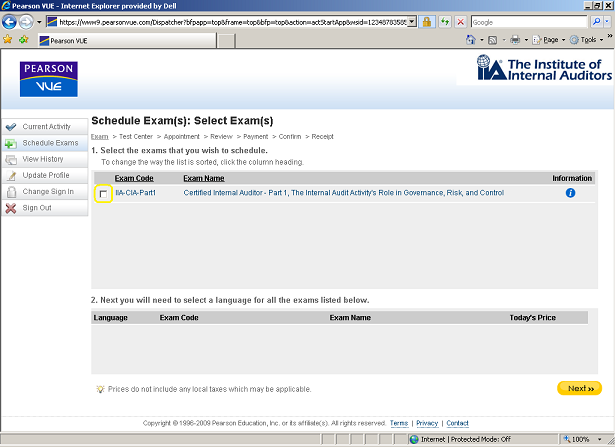
- Select the exam part you want to schedule by selecting the checkbox next to your desired part (SEE BELOW).
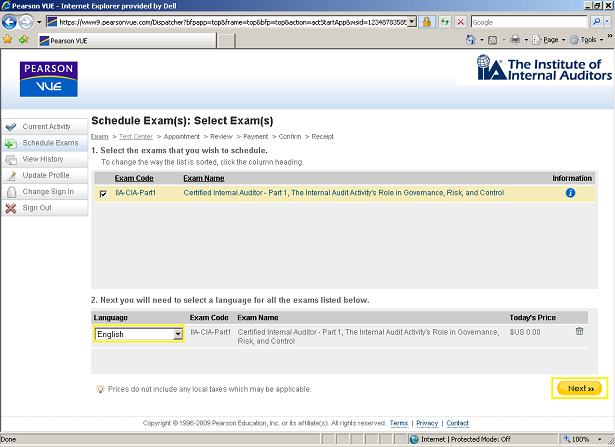
- Select the language in which you will take the part, and click the "Next" button (SEE BELOW).
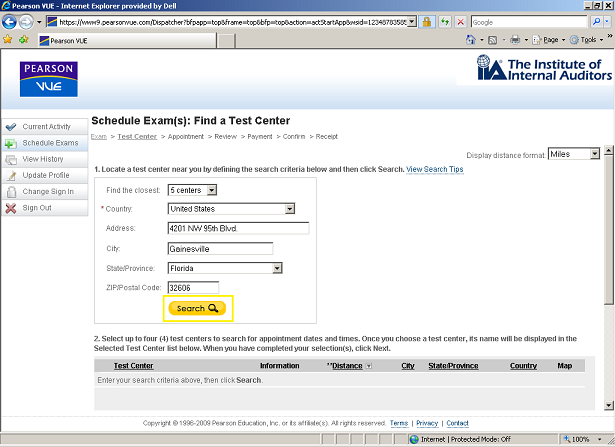
- Find a test center based on the address provided at profile creation. This informations should automatically be filled in on this screen. Click the "Search" button to list nearby test centers (SEE BELOW).
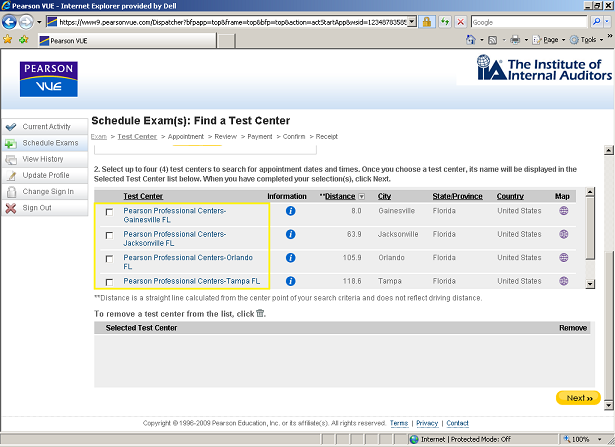
- Select up to four test centers to view available appointment dates and times. You may choose a test center by clicking the corresponding checkbox next to its name (SEE BELOW).
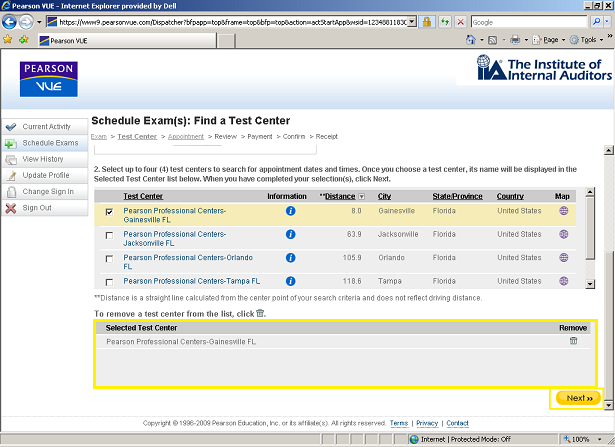
- Once you choose a test center, its name will be displayed under the "Selected Test Center" heading. When you have made your selection(s), click the "Next" button to continue (SEE BELOW).
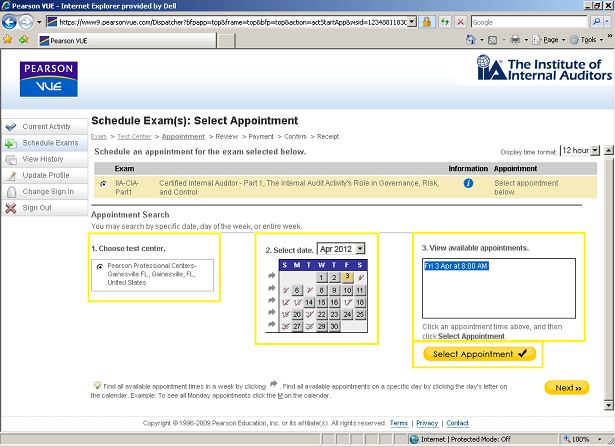
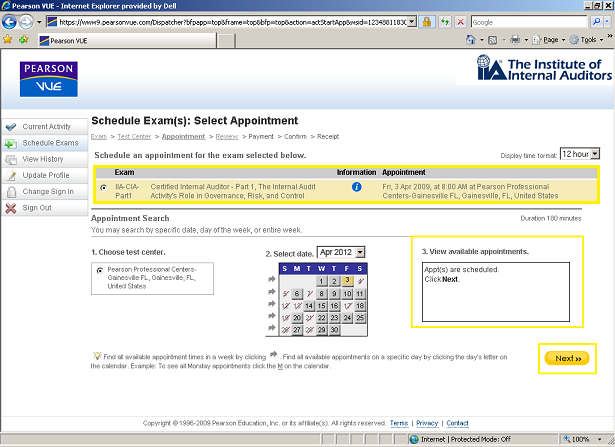
- Select your desired appointment from the available dates at you testing center. Choose the month and year in which you will sit for the exam, and Pearson VUE will show all available dates for your test center within that month. Select a date on the calendar to show the appointment times available on that date at your test center. Once you have chosen a satisfactory date and time, click "Select Appointment" (SEE BELOW).
- From this screen, you may continue scheduling exam parts or click "Next" to continue. Be sure to review the information presented in the yellow box, as it contains your exam and appointment information (SEE BELOW).
- Review your contact information to ensure that you have the correct phone number and address for yourself and the correct time, date, and location for your test. Once you are sure your contact information is correct, click the "Next" button to continue (SEE BELOW). If any information needs to be updated or changed, just click the "update your profile" link provided.

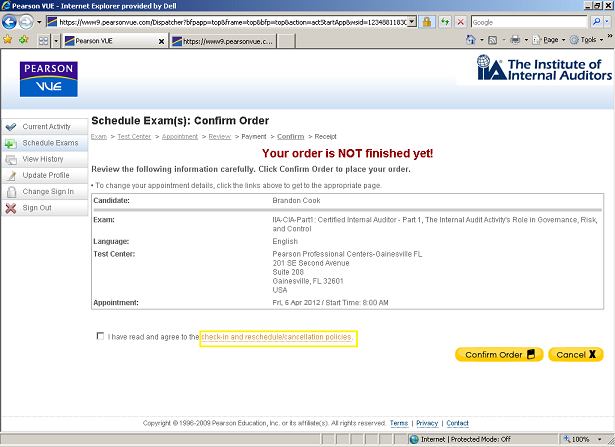
- On the appointment details page, click the "check-in and reschedule/cancellation policies" link, which will open a new window/tab (SEE BELOW).
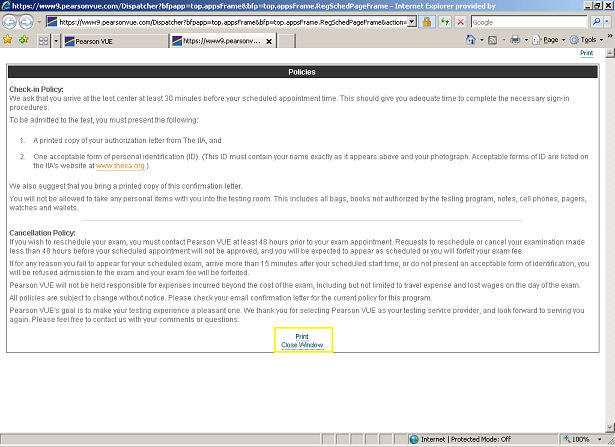
- Print out the policies document and save it so you are prepared for the check-in procedures and cancellation policies of Pearson VUE (SEE BELOW).
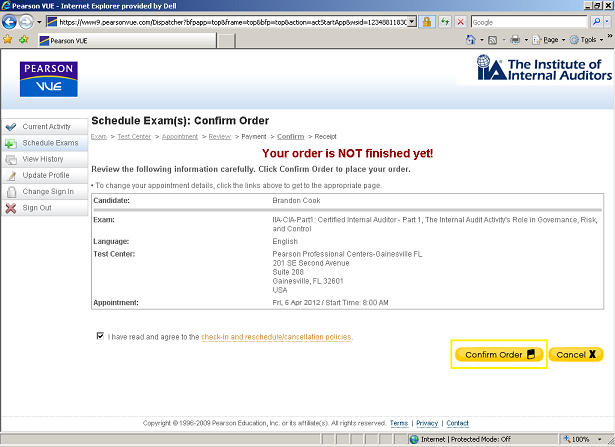
- Back on the previous screen (after closing the policies document window/tab), click the checkbox to signify that you agree with the aforementioned policies. Click on the "Confirm Order" button to complete your exam application (SEE BELOW).
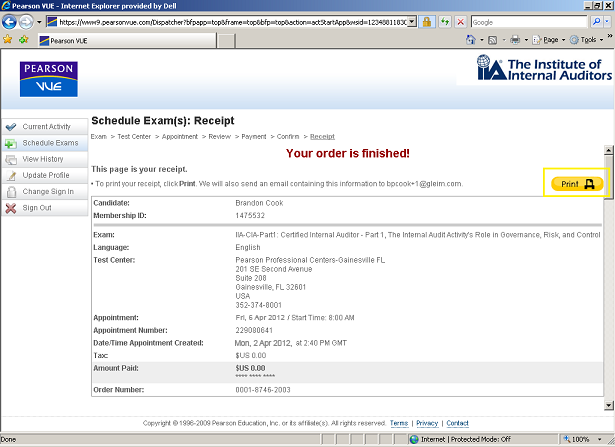
- You are now officially scheduled to take a part or parts of the CIA exam! This final screen is your receipt. Print this page to keep for your records (SEE BELOW).
- Receive an email confirming your payment and restating your appointment details. The email also contains the rules and procedures of your testing center as well as directions to get there. Print out this email and bring it with you to the testing center on exam day.